
Sometimes it seems like Another Day, Another tool! I had
the opportunity to cash in some reward points and buy a Dewalt 735x at a greatly reduced price on Amazon. I also had the opportunity to
sell my previous planer that I had grown out of to a fellow woodworker. It served me well, but I have higher
expectations now. When I originally
bought it, I didn’t know what my hobby would grow into, and now it is time for
a change.

The Old

The New
There are many upgrades between the 2 machines, but the most important, to me, are the improved surface finish on the planed boards, finer control over the height adjustment and much improved dust and wood chip extraction.
The Dewalt is a LOT heavier than the previous one. It was no
chore at all to set it aside and pull it out when needed on top of my
bench. The Dewalt is nearly 100lbs and a
bit awkward to lift above waist height.
I didn’t feel I wanted to throw my back out, so I decided to make a cart
for it. I had carts for some tools in
the past, but I felt like the took up too much precious floorspace in the shop…
until I saw my friend’s flip top cart. In the space of 1 tool, you can hold 2. I was sold. Now for
the build.
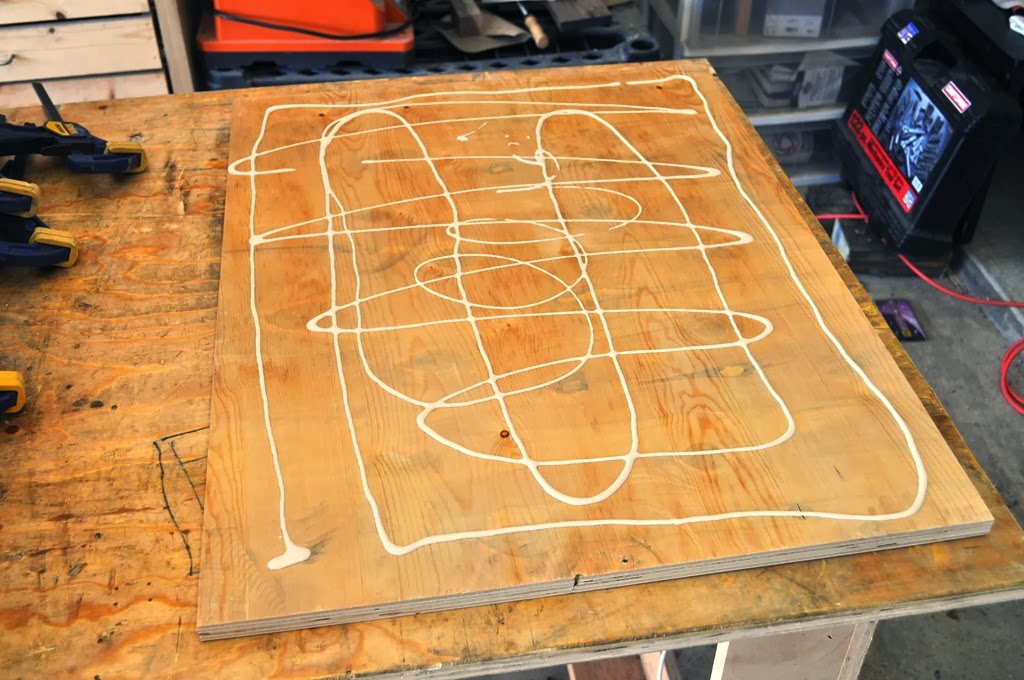
The sides are made from 2 pieces of plywood glued together
for strength. I wanted the metal rod, that acts as the pivot for the top, to have as much support as possible, and I didn’t feel
I would get that with a 3/4 panel and a 3/8 inch deep hole. All of the plywood that was used in this project was already in the shop. Most being scraps from various cabinets and some free plywood from a crate at work.


What better to use as clamping weight!

To get the metal rod into the top of the cart, I had to cut
a dado into 2 panels and then glue those together, leaving enough of the wood
to have adequate strength. The rod is a
3/4 inch steel rod from Lowes.


Making sure the rod sits all the way down into the groove.

Once everything was dry, I drilled the holes, and started
assembling


I also knew that I would want some nice locking casters on
the bottom. I have used the cheaper ones on my tool chest, and I am not
impressed with how they locked. I sprung
for the nicer ones, again at lowes. I am happy with them so far, especially the ease in which they unlock.

The locking mechanism couldn’t be easier, just some gate
slide locks.

Here is how the swivel works and looks.


And here are the tools.
The planer and the Oscillating spindle sander are mounted as I don’t think
I will ever need to use both in succession on a project.


All in all I am pretty happy with the results. It took me the 1 day to build, and that is with a break to watch the Broncos win the AFC Championship game. There are some areas where a bit more thought would have tightened up some joints and made it a bit more stable, and I still want to add a drawer to hold all the things that fall out when a tool is inverted, but it is a functional piece. It flips. It holds my tools. Job done.
No comments:
Post a Comment