

In early November of last year, I had the opportunity to
attend a hand tool woodworking class in San Marcos, TX that was taught by Chris
Schwarz. Chris is one of the most
visible members of the hand tool community.
He has written many books, most notably “The Anarchist’s Tool Chest” and
travels around the country, and world, teaching woodworking classes.
I was able to attend this class with my friend Josh, who has
been recently updating his blog at boundariesintime. It was a great weekend of woodworking and
beer consuming and it definitely made me more confident in my ability to work
with hand tools.
Unfortunately, again, I don’t have too many pictures of the
process. So for now, I will do my best to describe the build…
This chest has 2 compartments, an upper and a lower, which
will house my hand tools. The most used
tools will be up top with the lesser used tools below. I also wanted to put a drawer in the bottom
compartment to hold some of the smaller things that are easy to lose. It also
has a sloped lid that was historically for shedding water when it rained, but
it also serves the purpose of not allowing me to put things on top of it. It is very easy to fill every flat surface in
the shop with tools that I just used or scraps of walnut that “might be useful
for something”. This stops the clutter
from getting in the way of the tools.
Keep in mind; all of these steps were completed without the
assistance of power tools! The shop that
we were in was the Wortheffort woodworking school. There were a dozen benches, moxon vises, and
plenty of extra tools for those who didn’t have them.


We started by cutting the bottom and sides to size. There was material provided for the course,
and since the chest would be painted, I made mine out of poplar.

Once the pieces were cut to size and cleaned up, we started
laying out for dovetails. The bottom
will be holding a nice amount weight, so the dovetails are critical to support
that.

In this case, Chris had asked that when a certain problem
arose, to tell him so he could demonstrate fixing it. My friend and I were a bit further along in
our woodworking skills and as such, I was the 2nd one done with the
tails. That also meant that I was the
first one with the problem… so the teacher had to come help!

Once the dovetails were complete, we cut the dado for the
shelf. This was cut by hand and without
the use of a guide block. I wanted to
challenge myself a little bit, and I am happy to report that I didn't mess up
too bad! You can see both Josh and my
chests in the glue up stage.

Only one clamp needed!
The next stage was adding the front and the back. The back is ship lapped to allow for
expansion and contraction while the front is simply screwed on. I still contest that the hardest part about
building this using only hand tools was screwing in all of the screws. I definitely take my power drill for granted.
This was where we got to during the class, a fully formed
chest, but no lid attached and nothing inside.
Over the course of the next few months, in between frantic toy-chest
building and Christmas gift making, I was able to chip away at the tool
chest. The first point of business was
adding a drawer. We deviated from the
plans a few inches to allow room for a drawer in the bottom compartment. I have a lot of scrap walnut around, so I
used an interesting piece with a lot of sapwood for mine.

It is hung from 2 ‘L’ brackets inside the compartment that
ride in grooved on the inside of the drawer sides.


The front is handcut half-blind dovetailed into the sides.

And the front is decorated a little bit with a bead that was
made using a straight slot screw in a piece of wood!

With the drawer done, it was time to outfit the inside. I had a general idea of what would go into
the upper compartment, so I laid them out and installed some dividers to keep
everything from sliding around.

In that last picture you can also see the chisel storage
rail.
The next thing to make was the saw storage. I have seen saws stored under the lids, and I
wanted to maximize the space inside by doing the same. In theory it seems easy, but in reality, it
is a little difficult.

I hand drilled a few holes and then, very carefully, cut the
long straight cuts with a coping saw.
They aren’t perfect, but the saws fit in nicely and don’t move around
when opening and closing the lid.

I had a friend of mine make some leather straps to hold the
lid open, I really like the color that he chose and they work great. I don’t know if they will stay the same
length in the heat of a Houston summer, but they look too good, I will cross
that bridge when I come to it.
The chest features a simple yet effective locking mechanism
for the front. There is a bracket on the front that allows a narrow strip of
wood to pass through. There are matching
relief cuts in the bottom of the chest and in the shelf to capture the
slat. Once the lock is fully pressed
down, the front won’t come off. This was
originally done so that workers in a shop would only need to lock the top and
both compartments would remain protected.


The last, and most fun, thing to do is to fill it with
tools!


From my count, I am able to fit:
7 saws
8 hand planes
15 chisels
4 card scrapers
2 squares
2 drills
1 mallet
And various marking and layout tools (rules, scribes,
marking gauges) along with extra blades for most tools.
I think I have room to spare in the lower compartment. I
guess I will need to buy more tools.
I really enjoyed making this tool chest. It was challenging and eye opening at the
same time. I realized I can do a lot of
tasks with hand tools that I didn't think I had the skill to do. It also taught me to slow down and think
before making a cut, as some things can’t be rushed. Some more beauty shots:
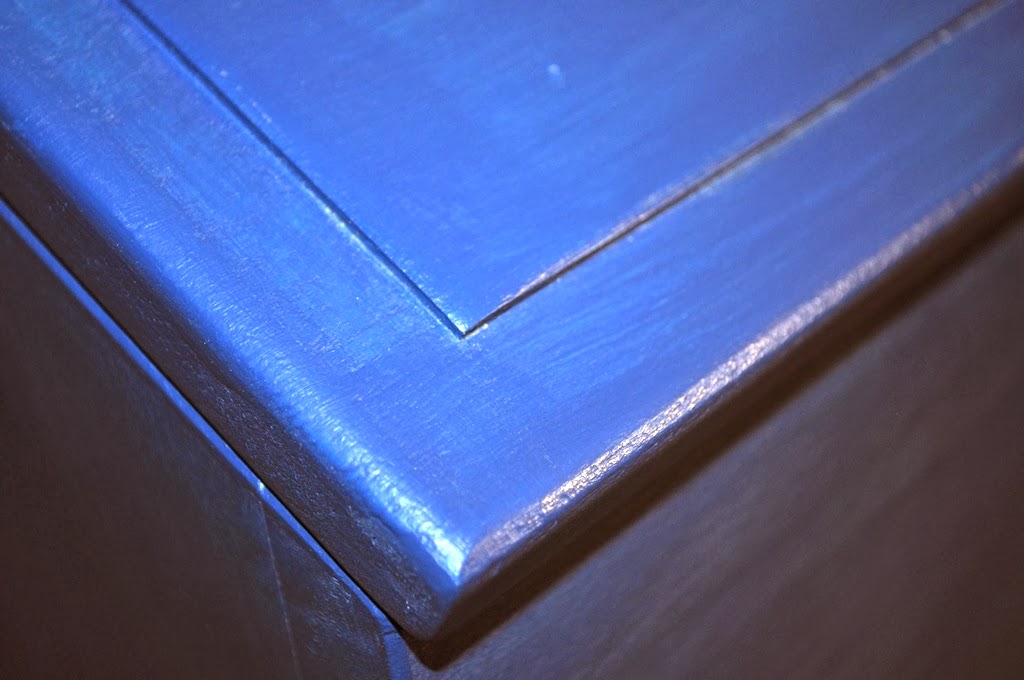
Hand cut edge profile on the lid. This was nerve wracking to do on a finished lid.

The Ship Lapped back panels.


I think the thing I like the most about the chest and hand
tools in general, is that it was my grandfather’s tools that really got me
started. I am so happy that they have a
home and get used regularly now!
