
There is always a long, and ever-growing, list of projects
to get on with in the shop, and sometimes the hardest thing to do is decide
what is next. I have wanted a new workbench
for some time now. While I have been in
the process of honing my skills with hand tools, I have discovered that my work
holding options are far too limited and quite unstable. Back before the cabinets, and tool chests and
other projects, I bought the Benchcrafted Split-Top Roubo workbench kit.


Once the cabinets were out of the shop, it was time to
start!
The first choice that I had to make was the type of wood to
make the bench out of. You want something
strong, that will last for generations, but you also want it to be stable, easy
to work with and not too expensive. I
narrowed my choices down to 3 materials
Soft Maple-
Almost the default material for large benches.
It is very strong as well as being in the middle of the hardness
range. This is good because when making
hardwood projects, any dings or dents will happen to the bench and not the
workpiece. It is also a very attractive
wood with a closed grain.
Ash- Another good
choice, and more cost effective than maple.
It has a strong grain, almost like that of oak, but it has similar
properties in strength and hardness to maple.
Southern Yellow Pine-
Very cost effective choice, but difficult to find in the grade of lumber that I
was looking for. Any Home Depot or Lowes
in Houston have SYP 2 x 12” boards, but they tend to be full of knots or warped
beyond recognition. While quite soft, it is very strong, which is why they
build houses out of it.
If I had been able to find appropriate SYP, and I tried, I would
have used that. But eventually, I gave
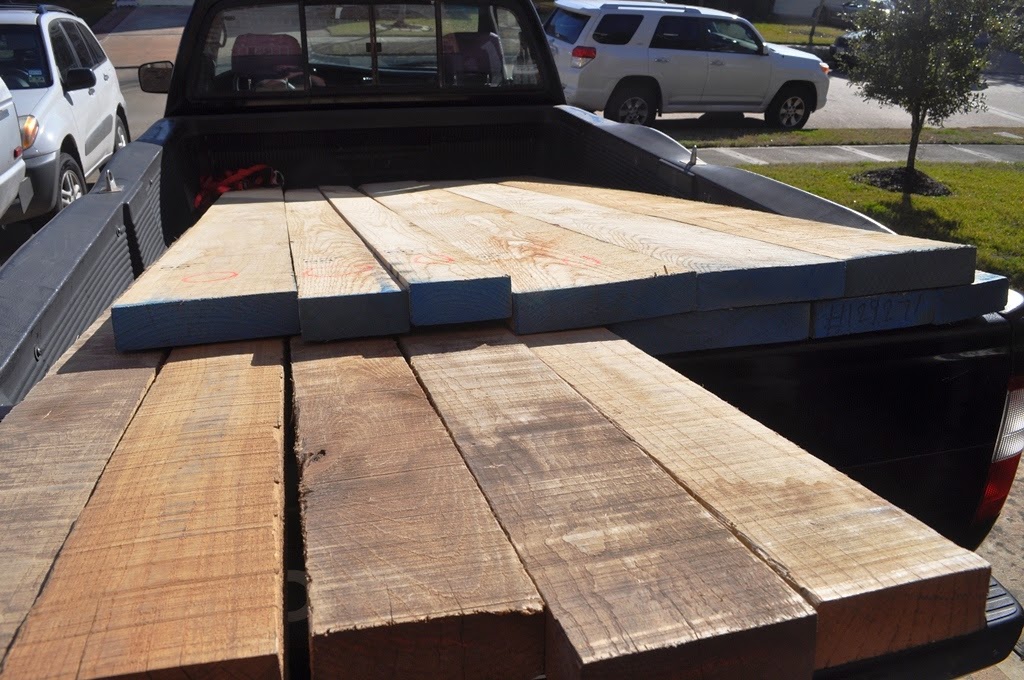
up looking for clear boards and went and loaded up on Ash. About 150 board feet of it!


With a project this big, there are many places to start, and
I began by trying to break down the large boards into the pieces that I needed. I started by hand cutting the rough stock
that was needed for the 6 rails (4 short and 2 long) as well as all the pieces
that would eventually become the legs.


Then it was time to plane them to rough width and thickness

You can see a little groove in my jointer blades leads to a
raised ridge on the board, this is removed before running through the thickness
planer.
Here are the finished products. Some of the pieces aren’t cut to the final
length yet, obviously, but I find that it is good to let the pieces sit for a
while to acclimate before finalizing everything


Next I glued up the legs.
The legs on this thing are beefy, 3.5” x 5”. Out of solid ash, they are heavy too. I didn’t get a picture of the glue up, but
once those were dry and to the appropriate size, it was time to make some real
sawdust, routing out the mortises for the rails.
I laid out the mortises very carefully, I didn’t want to
have to make another leg after the fact. I double checked the plans and then it
was time to start cutting.


Each leg gets 3 mortises, 1 wide for the long rail and 2 on
the same face for the 2 short rails. I
used a ½” spiral bit and my edge guide for this process. Since there were 8
mortises that were the same distance from the edge and the same width, I did
all of those first.
The process is to set the edge guide and then some stop
blocks to keep you from going over the line.
In some cases, you run out of wood to put stop blocks… then you are just
really careful.
Once you are ready, you do multiple passes at ever increasing
depths. I usually wouldn't take more than 3/8” of an inch in any 1 pass, when I
did the router would start to vibrate, and I worked down to the full depth of 2”


Then you get into a groove. It really didn’t take that long
to cut all of the mortises, and I definitely got my money’s worth out of that
bit.


I then wanted to make the matching tenons. I took my rails and cut all of them at the
table-saw with a stacked dado blade. I
rounded the edges of the tenons to match the rounded mortises.


I then hand-fit each tenon.
If the tenons were a tight, I would take off a little material with a hand-plane
and try again.


This was arduous, but at the end, I had a full dry assembly
of the base!


I will cover the laminating of the top in the next blog
post!
No comments:
Post a Comment