Back onto the dining room table! As a reminder, we are starting with 2 pallets
that I got for free from my work, which appeared to be hardwood.
And the plan is to make a dining room table with a trestle
base that has a rustic feel and accentuates the nail holes and knots of the
wood.
We started with the most exciting part of the project,
planing the boards that will become the top of the table. We were unsure if they were all the same
species or if they were going to be flat enough to not create a horribly warped
tabletop.
All in all, there were 3 Red Oak and 2 White Oak boards. We moved them around, flipped them over and
swapped their orientation many, many times to get the best looking boards in
the best looking order.
There was going to be some very different grain and color, I
hope that I will be able to even out the color when finishing and staining.
Then I started to straighten the edges as close to perfect
as I could. With a tiny power Jointer,
this was a job for the new workbench and some handtools!
This went better than I expected. Some of the boards had some pretty rough
edges, but I was able to take a heavy cut with my No. 6 plane and then clean it
all up with my number 7.
Once all that was done, It was time to glue-up. I did it in
3 phases: two separate glue ups of 2 boards and then joining them all
together. I used cauls to keep
everything as straight and flat as I could to minimize any unevenness.
Once they were together, I needed to do something to keep
them straight for the next 50 years or so. I decided on breadboard ends. The straight
and strong board will do its best to keep the planks true and without the
cupping and warping that all wood goes through.
I needed to cut the tongue and tenons into my existing
top. I used a router for this job as the
top was now far too big to move around the shop, let alone run through the
tablesaw.
The longer portions are partly for strength and mostly to
give me some meat to drill a hole through and connect via pins.
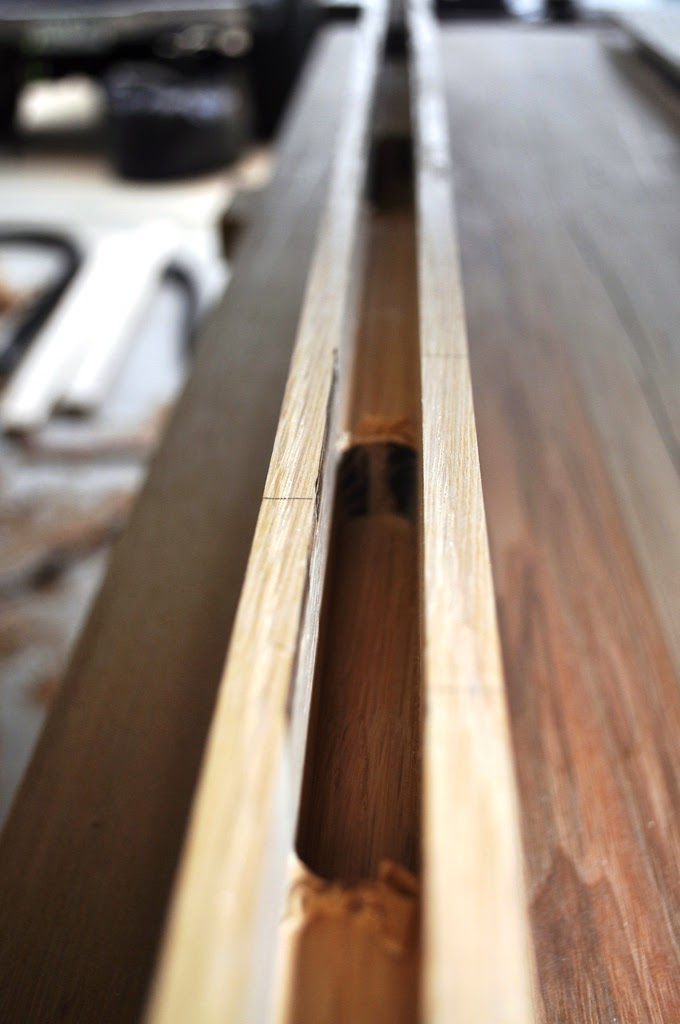
Then I needed to match that shape, in the negative on my
breadboard. I first routed the groove on
the router table.
And then plunged deeper down to accept the tenons
Low and behold, they fit!
I drilled holes and pinned with Oak dowel.
Next time: The base and the bench!


No comments:
Post a Comment