
Now that the top is more or less ready for finish, I need to
make the legs. Since this is a trestle table, it only needs 2 legs, which is
nice because they are 9 inches wide!
The legs are made up of 3 parts: the bottom, the riser and
the top. The bottom is what I worked on first, and is the most visible part of
the leg. So when picking the boards, I used the best looking boards for the
bottoms.

And the tops are rather invisible, so they were relegated to
the off color red oak with all the knots that you see in the picture (middle).
I used mortise and tenon joinery for the legs as they need
to resist any lateral movement of the table as well as holding up well under
the bending that is placed on them in the trestle style table.
I laid out the mortises first, using a knife to make very
straight and clear lines


And then I removed the bulk of the material with the drill
press


It took a bit of effort, but I cleaned up the mortises by
hand to get 2 matching rectangular holes.


I used the same process on the tops and then fit the risers
in using mostly the tablesaw to make such a large tenon.

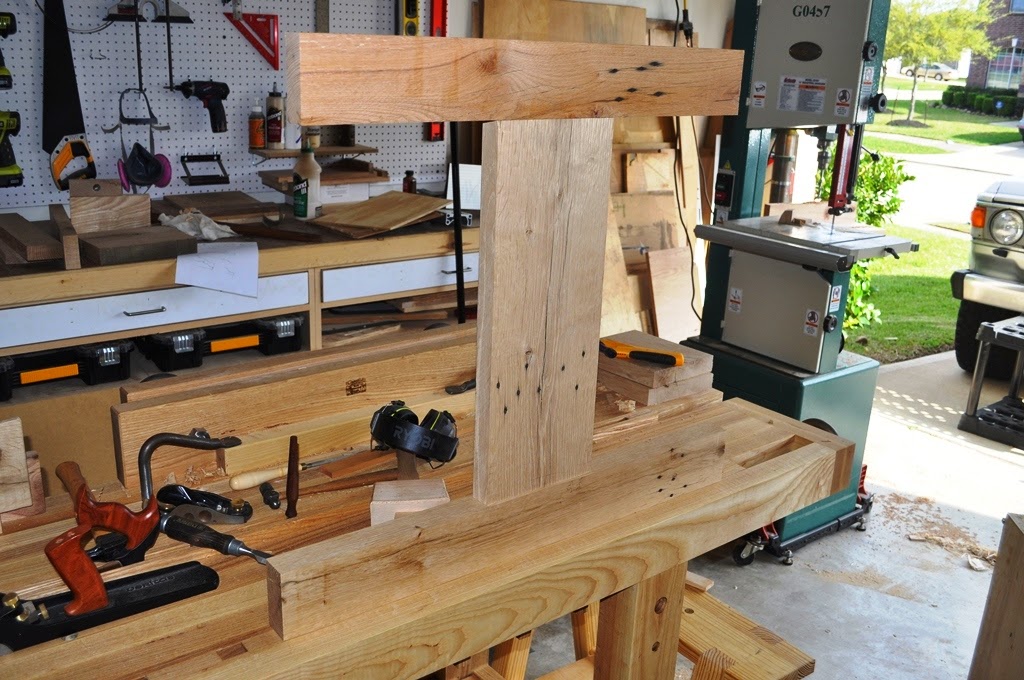
So now I have a big I shape.
I wanted to add some design to the legs, but not too much. So only the ends of the bottoms got some
shape. I really like the ogee look so I drew
one up and cut it at the band saw.


It still needs some sanding in this picture…
I don’t have pictures, but there is 1 more mortise to create
on each leg. I cut a hole in the dead
center of the riser for the rail to fit through. Most of the strength and stability of a
trestle table comes from a tight fitting rail.
To ensure that mine is always snug, I put a wedged key in
each end. A few taps from a hammer and
the wedge pulls the rail very tight and keeps it there. If I need to disassemble the table, just tap
it back out!


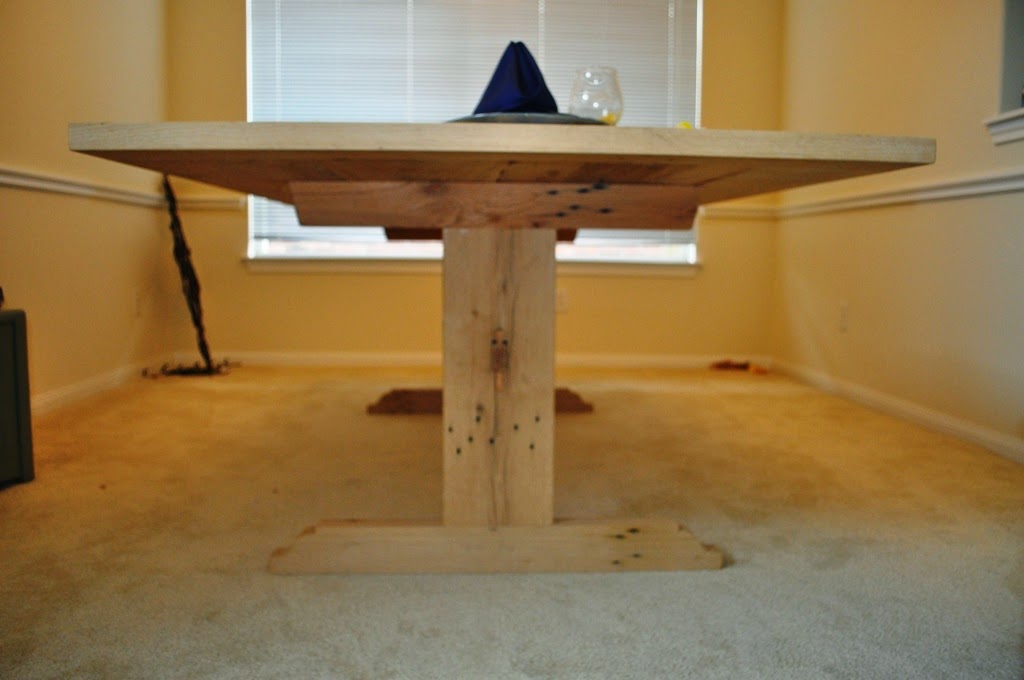
Now a dry assembly of everything prior to finish!

.JPG)
We couldn’t help but add some place settings to make sure
that everyone fit. It can easily fit Eight!
And I am building a matching bench!
.JPG)
Next week, the finishing and finale!
No comments:
Post a Comment