
I think that finishing is the scariest part of a project. You work and work to get every joint perfectly fit, every surface smooth and then you finish it with too much gusto, not enough patience, or just completely the wrong product, and the piece is ruined. This is why I lean towards the more expensive, but vastly more pretty, woods, just let the wood do the work of looking good for you. The inherent color of the walnut on this project just needs a coat of oil and then, depending on the situation, a few layers of finish for protection. No stains, no dyes, nothing to screw up!
Before I applied the finish, I had to completed the daunting task of sanding and leveling all the different boards and joints on this counter top. I was too worried about a few of the boards that had some large patches of open face grain to use a belt sander. I thought I was going to put irreversible, perfectly straight (i.e unnatural) scratches into the surface. They would have been very noticeable. So I did all the sanding with a 6" Random Orbital sander and took baby steps through the initial grits to remove any sign of the previous.
Before I applied the finish, I had to completed the daunting task of sanding and leveling all the different boards and joints on this counter top. I was too worried about a few of the boards that had some large patches of open face grain to use a belt sander. I thought I was going to put irreversible, perfectly straight (i.e unnatural) scratches into the surface. They would have been very noticeable. So I did all the sanding with a 6" Random Orbital sander and took baby steps through the initial grits to remove any sign of the previous.


I went from 60 grit for material removal and initial leveling, and up through 80, 100, 120, 150 a grain raising wipe of water and a final 5-6 passes with 220 to ensure that all the swirl marks and imperfections were out. The result is a silky smooth finish and (hopefully) no blemishes that will take away from the final product. The wood grain absorbs water at different rates and swells at different rates too, so a quick swipe with a damp rag will get the grain standing on end for a perfect sanded surface.
My finishing regimen for this piece will be a super easy
coat of wipe-on oil and varnish mix for beauty and then a hefty amount of
polyurethane for toughness and durability.
My mixture for the oil varnish mix is 1 part Boiled Linseed
Oil, 1 part regular gloss polyurethane and 1.5 parts mineral spirits. The mineral spirits are to make it easier to
apply, I like simple, and wipe-on is as simple as it gets.


I use any old jar to store my finishes. Pickles!
The best part of walnut is that very first time you wipe on
the finish. It makes the hours and hours of sanding totally worth it.

Here is a shot of the raw surface and the with the finish
being applied.

I keep the surface wetted and if the wood soaks it up, I keep
applying. Once it looks relatively
uniform after letting stand for a few minutes, I wipe up the excess. I then
come back in 15 minutes and wipe up what comes back out of the wood.
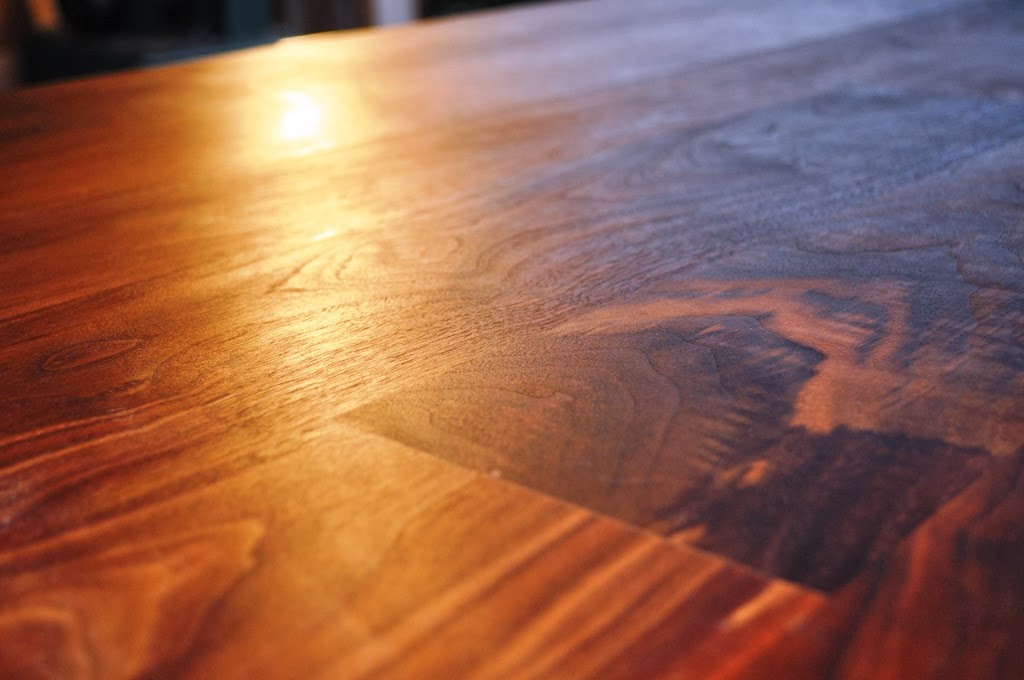
This is my favorite shot so far.

Look at all that figure...

I am going to let this cure for as long as I can stand, at
least a few days, then it will be coat after coat of poly.

Gratuitous macro shot.
No comments:
Post a Comment